The follwoOverview
This article shares information to configure the tracking page style, look, and feel. Rush allows its clients to enhance their tracking pages by choosing from different themes available for example, light, dark, and custom themes. The customers can also customize the theme as per their liking and apply different color schemes, play with fonts and change the overall appearance that is consistent with their brand.
Set up the modern theme
To style the tracking page using the modern theme, follow these steps:
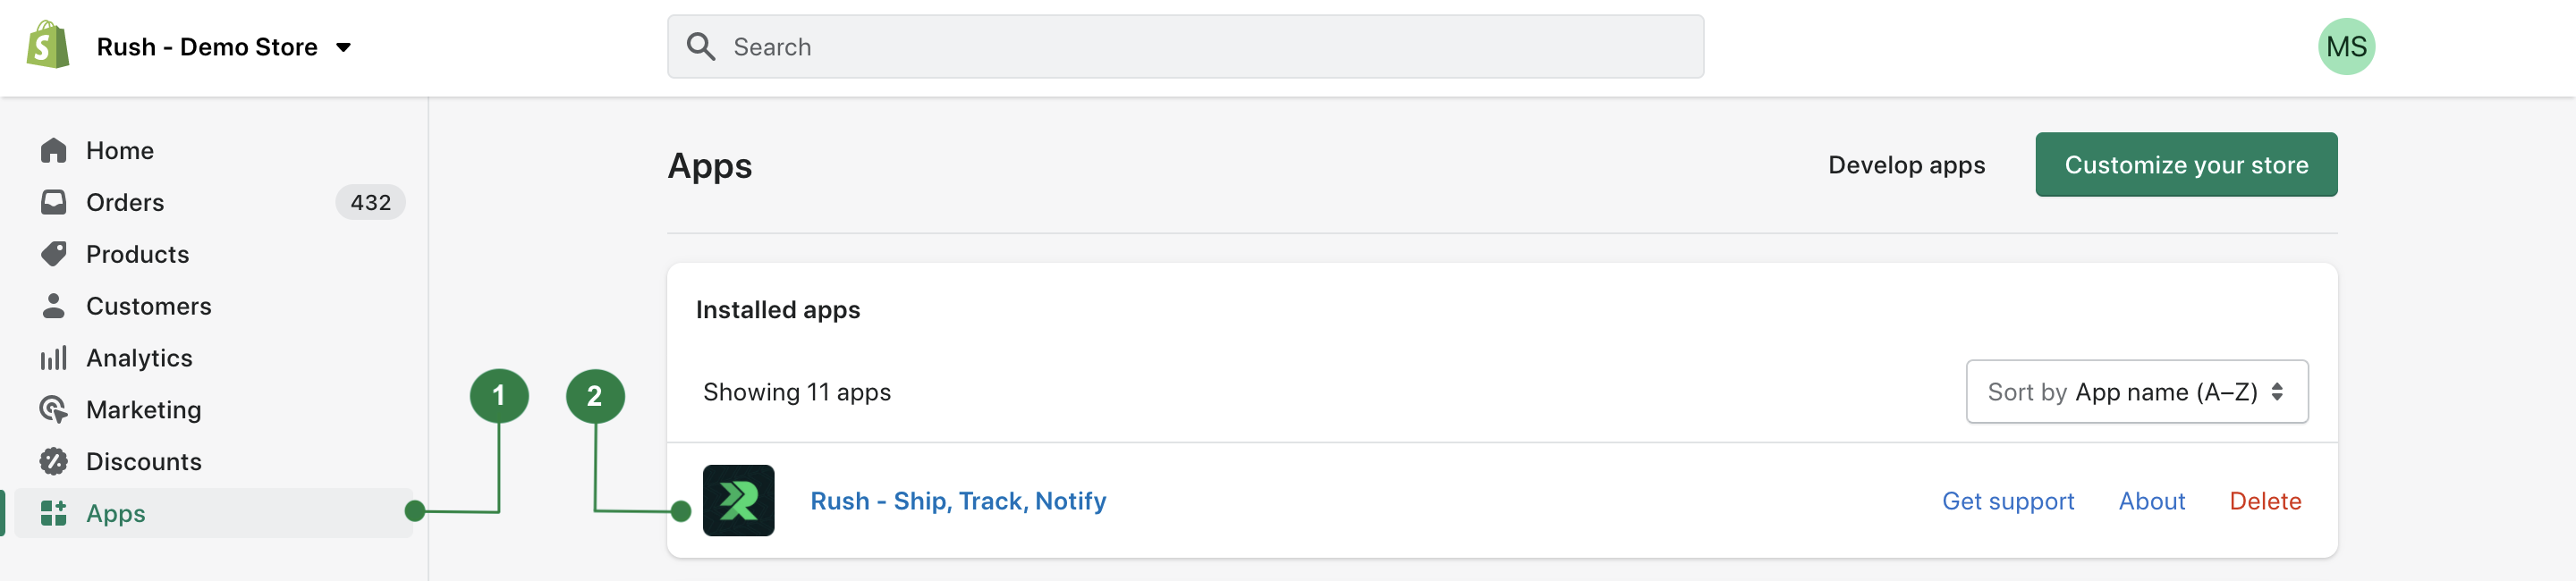
- Select Apps from the navigation sidebar on the left.
-
From the list of installed apps, select the Rush app.
- Select the Tracking page from the left navigation sidebar.
-
If you already have the Modern theme set up, click the Customize button. If you have some other theme set up, follow the steps below:
- Go to the Themes section and click on the Add button for Modern theme

- Choose the Dark or Light version of the theme based on your preference. Hit the Next button. To know more about these options, refer to the section below.
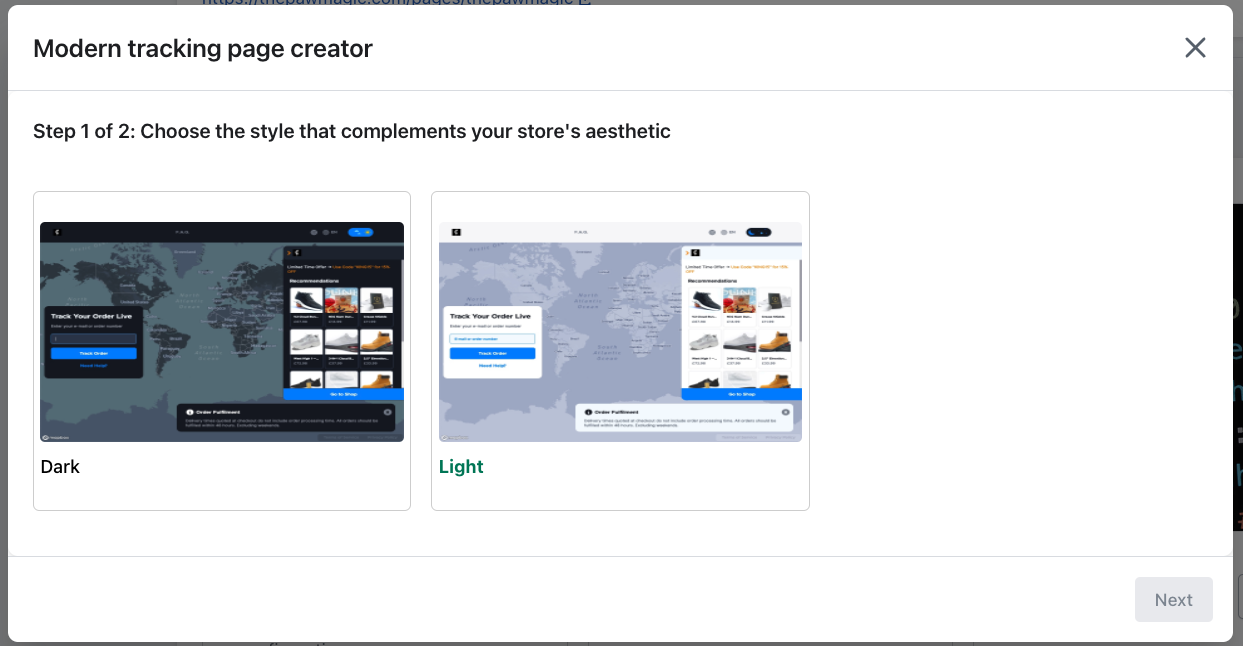
- Enter a Page title you like and click on the Add page button

- Click on the Save button
- Go to the Themes section and click on the Add button for Modern theme
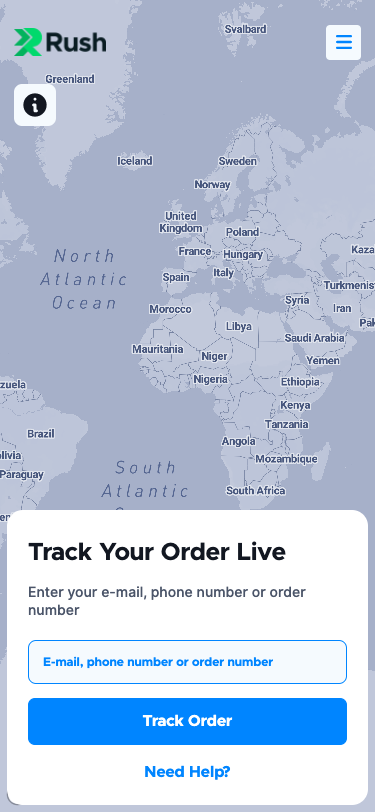
Choose between light and dark mode
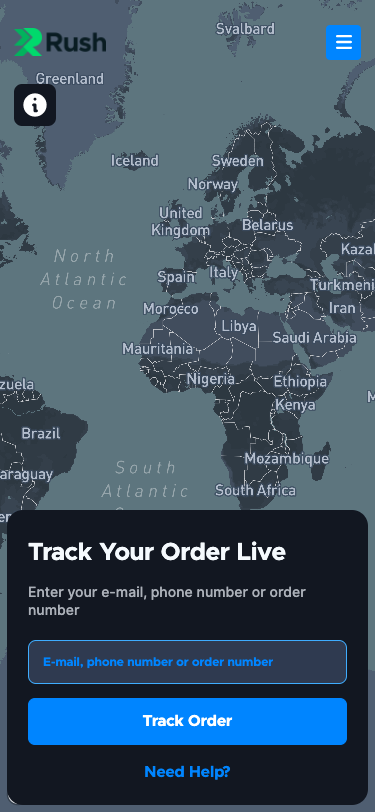
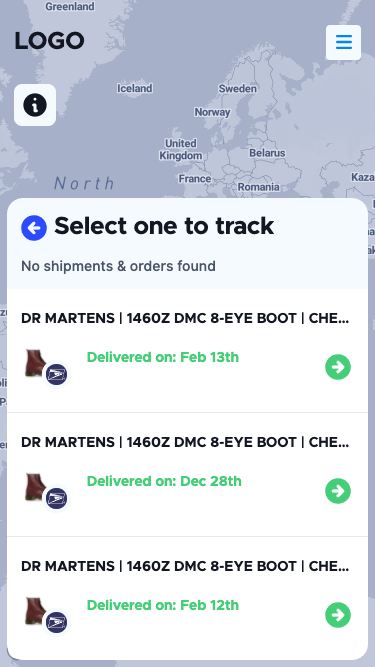
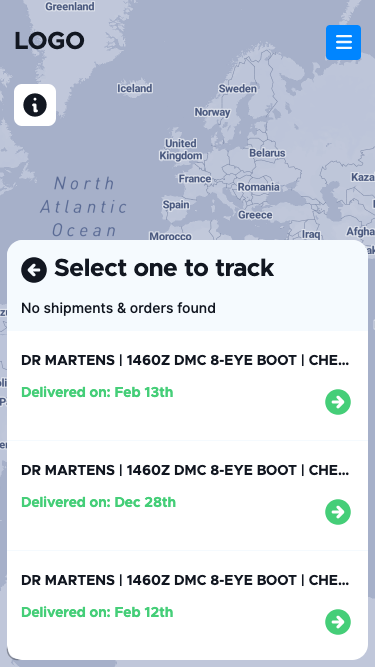
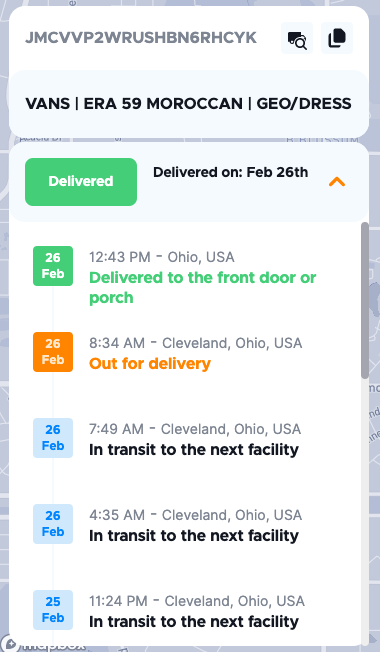
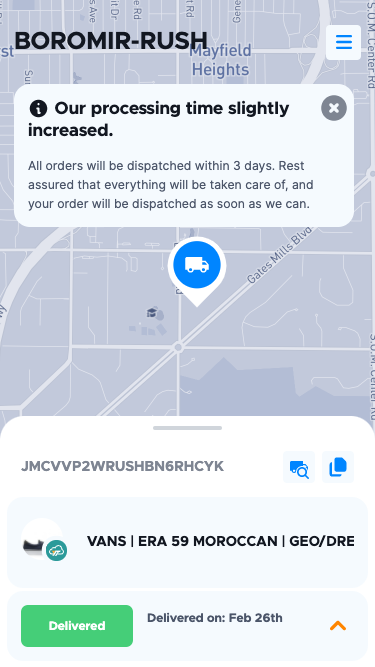
The store owners can choose between the two layouts provided.
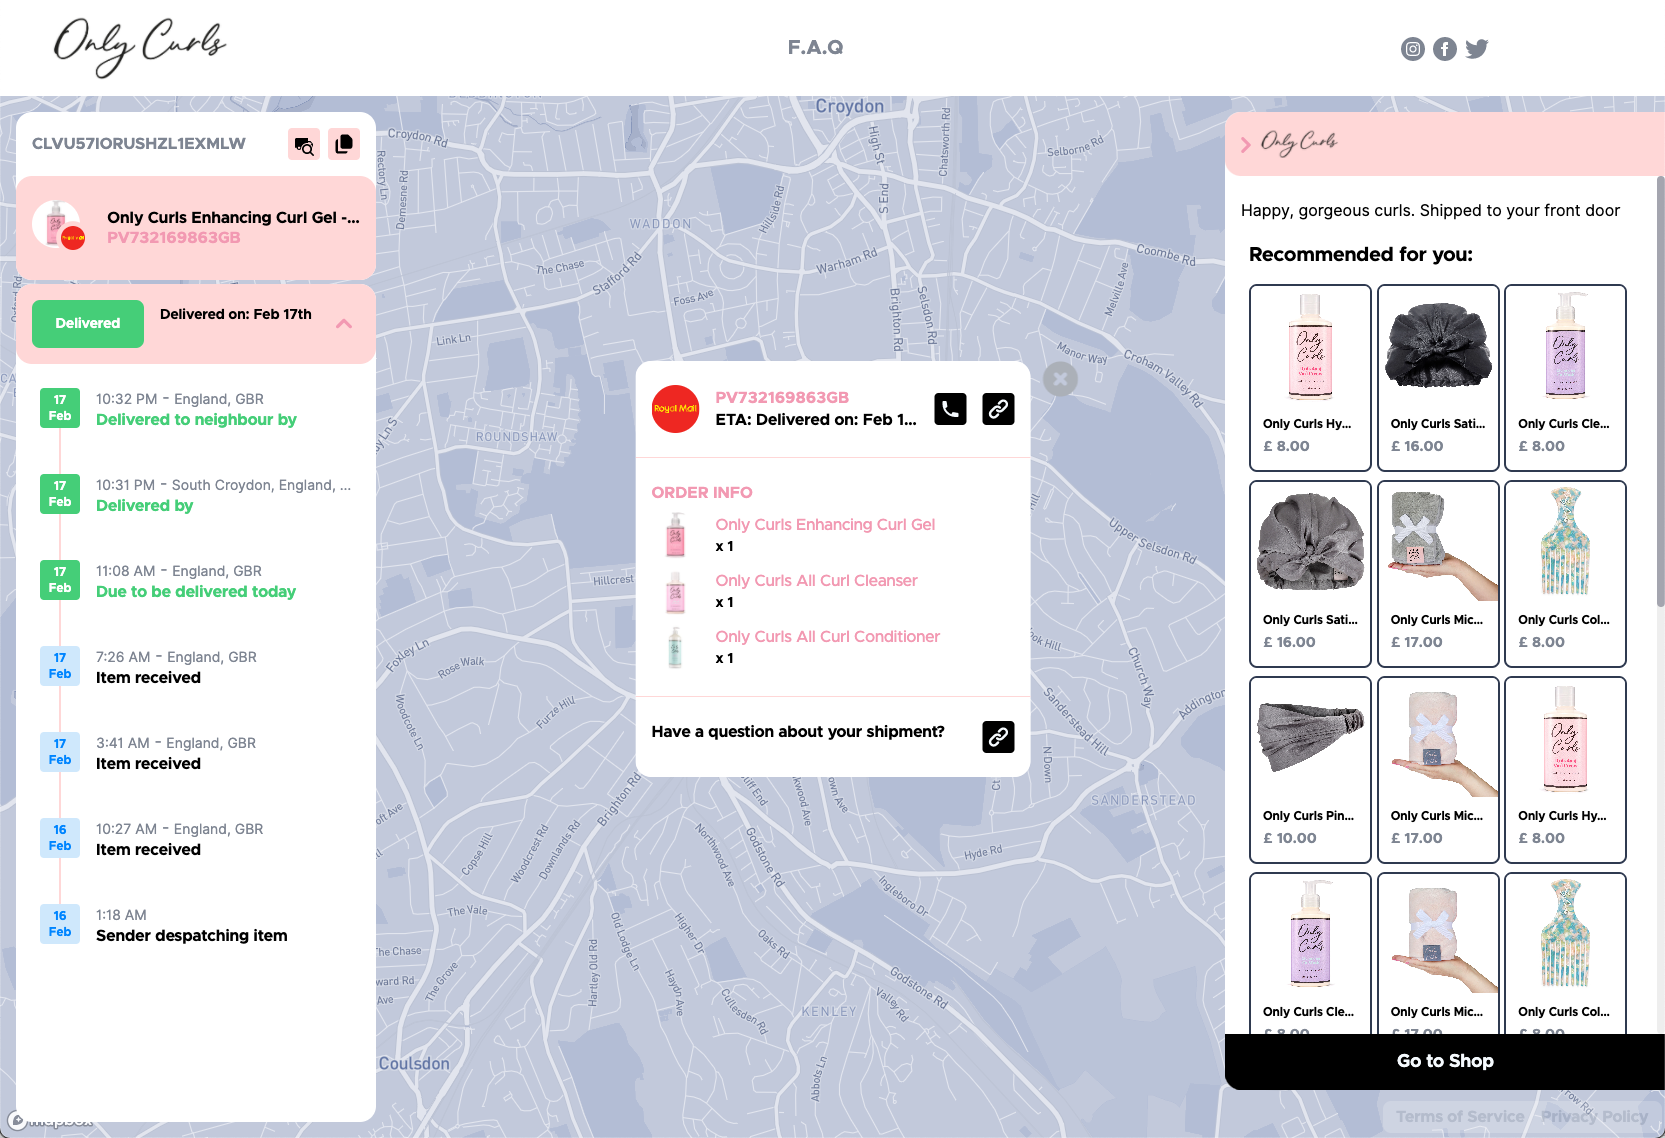
Here are a few examples of how the page will look in light and dark mode.
| Light mode search order page view | Dark mode search order page view |
 |
 |
| Light mode tracking details view | Dark mode tracking details view |
 |
 |
| Menu page | Menu page |
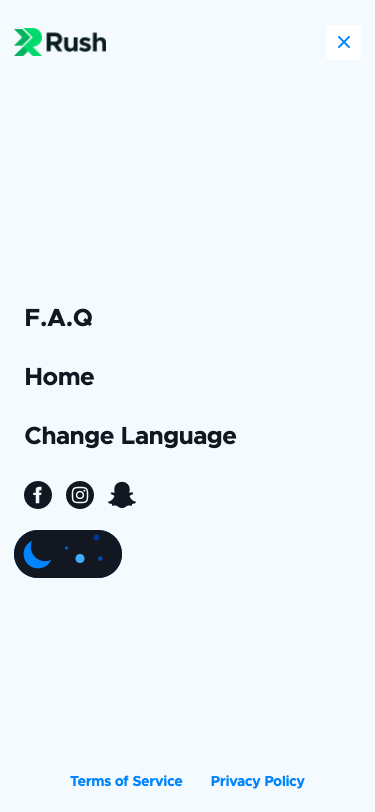 |
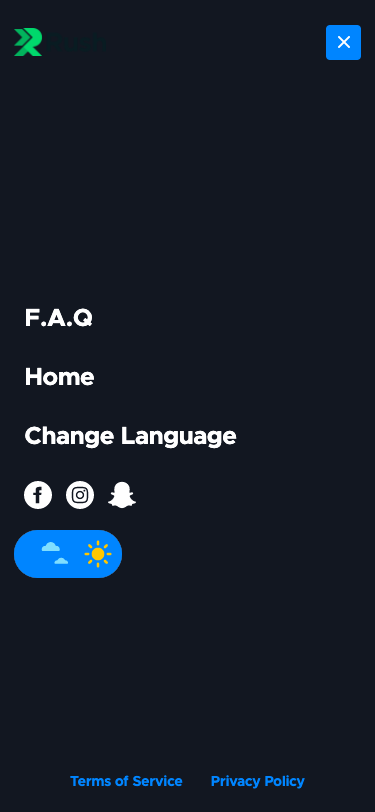 |
Tip
You can turn off the ability for the user to switch off between the styles, by adding the following snippet in CSS:
.toggle-dark-mode-btn {

  display: none !important;

}
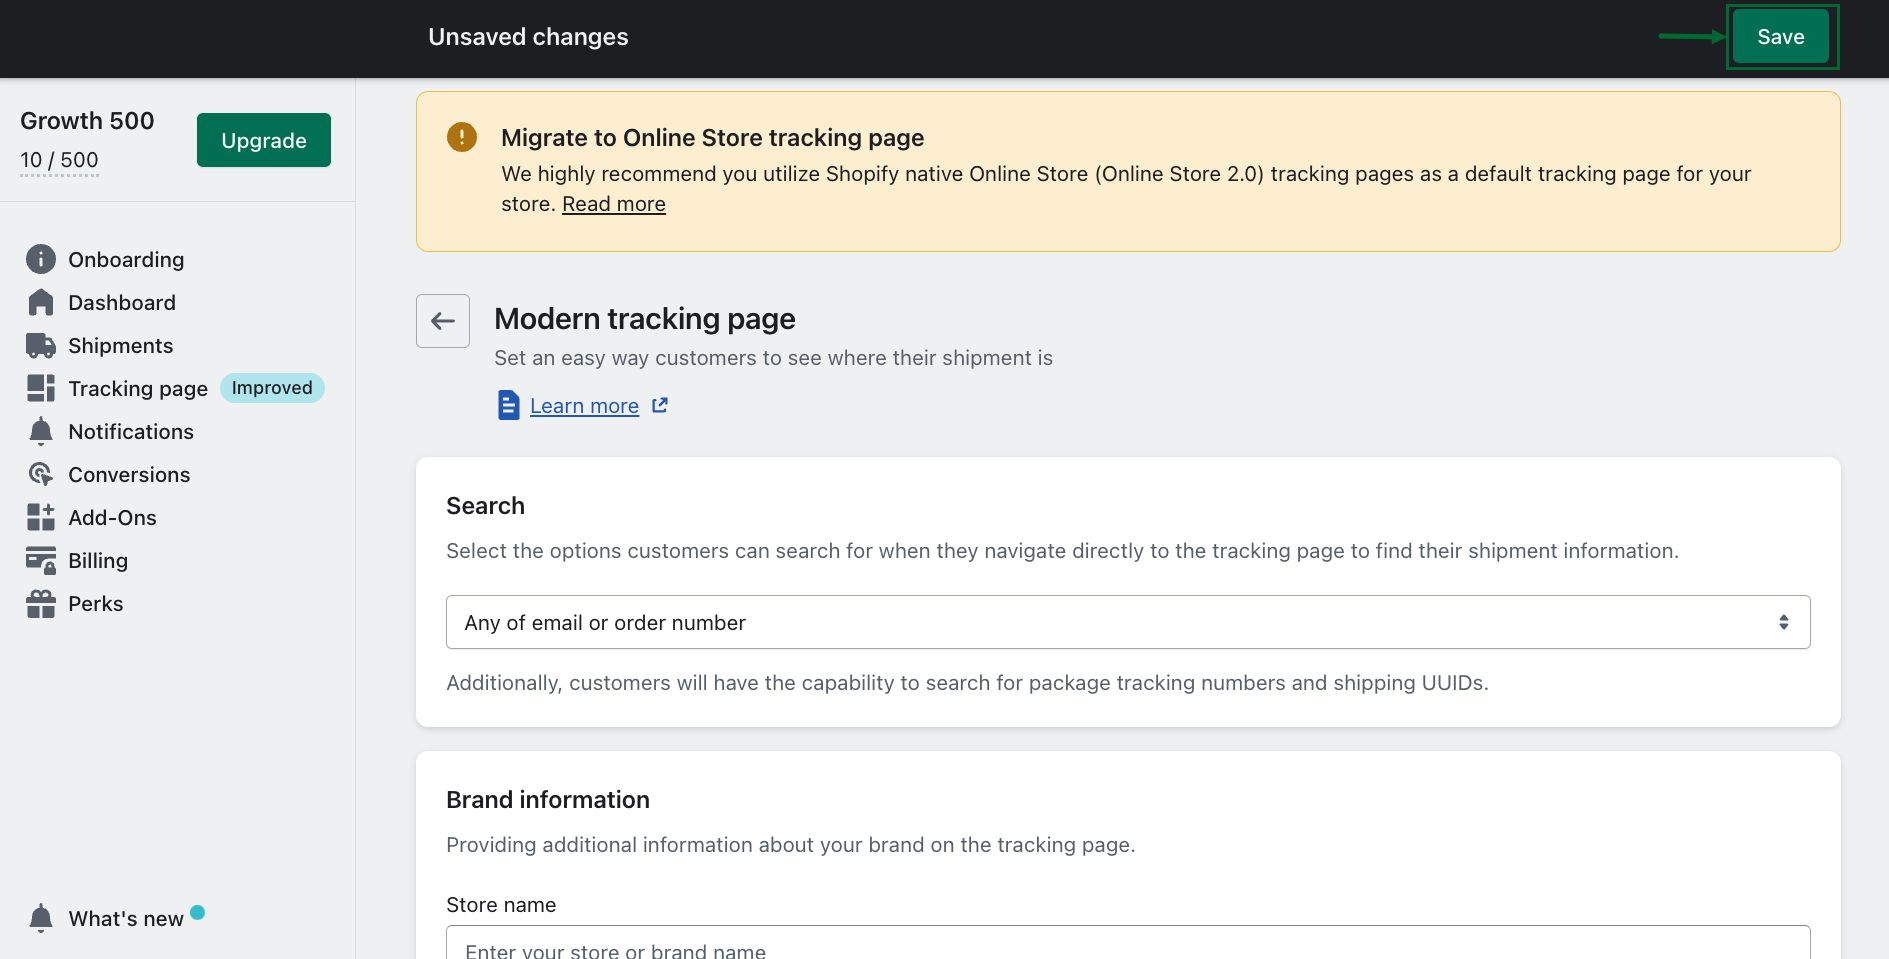
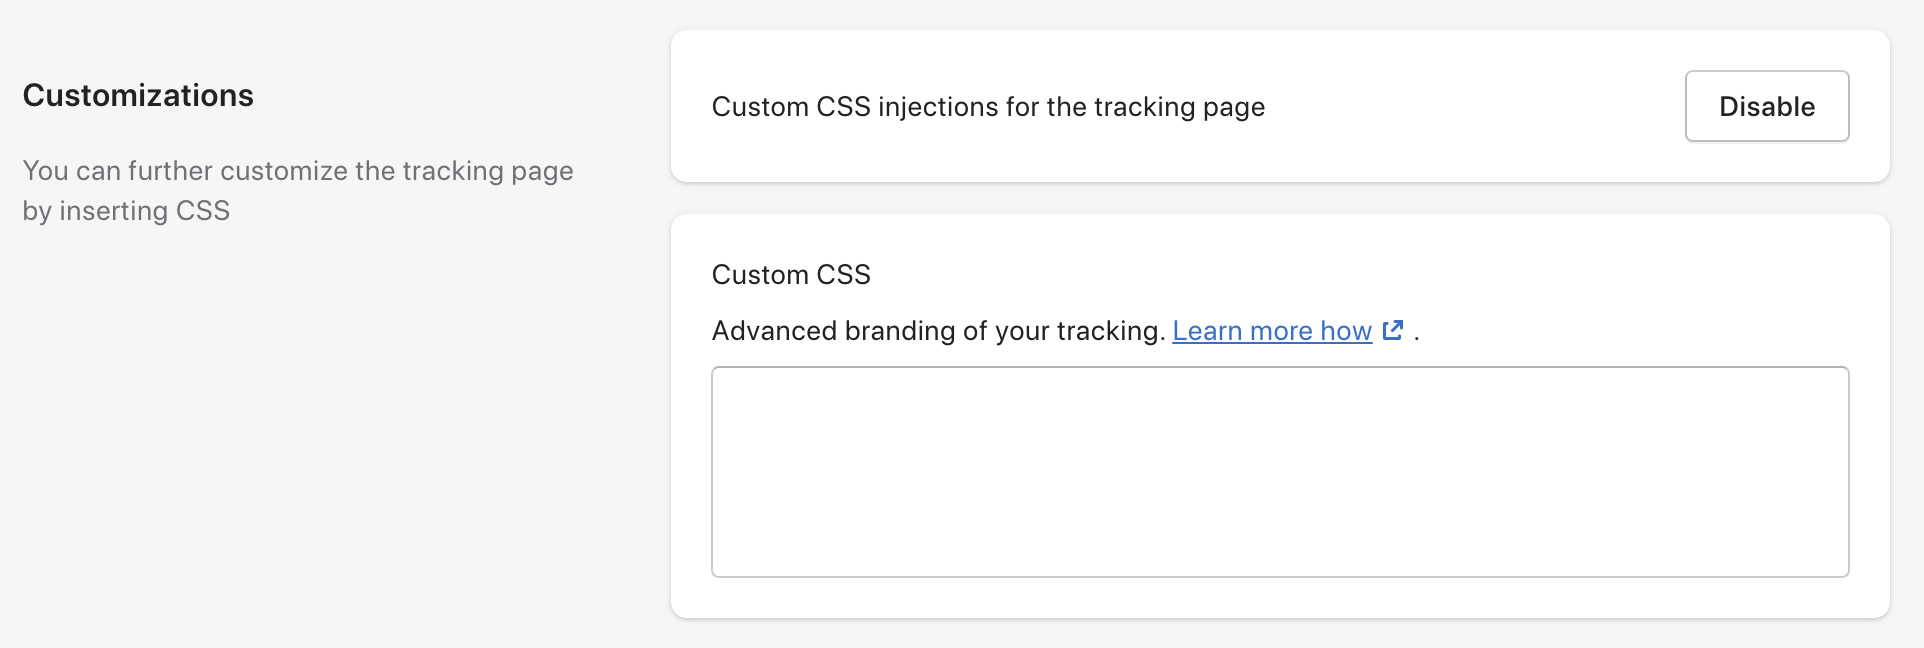
Enable customization
To further change colors, element sizes and more; enable the CSS options located at the bottom of the tracking page options in the Rush app.

A custom CSS box will appear on the screen. Add the relevant custom CSS snippets to get started.
Remove the light/dark mode button on the page
To remove the light/dark mode button on the page, add the following code snippet in the custom CSS box:
.toggle-dark-mode-btn {

  display: none !important;

}
Apply custom brand colors
Following is the CSS that can be experimented with, in order to further customize the tracking page:
.custom-mode {
	--primary-background-color: #ffffff;
	--primary-text-color: #121721;
	--primary-text-muted-color: #7e8592;
	--secondary-background-color: #f5fafe;
	--text-color-active: #ff8500;
	--menu-text-color: #7e8592;
	--menu-text-active-color: #0085ff;
	--btn-primary-color: #f5fafe;
	--btn-primary-background-color: #0085ff;
	--btn-close-merchant-note-color: #7e8592;
	--text-input-color: #00267a;
	--text-input-background-color: #f5fafe;
	--text-input-border-color: #0085ff;
	--pin-background-color: #ffffff;
	--pin-circle-color: #0085ff;
	--pin-truck-color: #ffffff;
	color: var(--primary-text-color);
	background: var(--primary-background-color);
}
For example, changing the CSS like shown below:
.custom-mode {
	--primary-background-color: #FFFFFF;
	--primary-text-color: #000000;
	--primary-text-muted-color: #7e8592;
	--secondary-background-color: #ffd7d7;
	--text-color-active: #F299B2;
	--menu-text-color: #7e8592;
	--menu-text-active-color: #000000;
	--btn-primary-color: #f5fafe;
	--btn-primary-background-color: #000000;
	--btn-close-merchant-note-color: #7e8592;
	--text-input-color: #000000;
	--text-input-background-color: #f5fafe;
	--text-input-border-color: #ffd7d7;
	--pin-background-color: #ffffff;
	--pin-circle-color: #ffd7d7;
	--pin-truck-color: #ffffff;
	color: var(--primary-text-color);
	background: var(--primary-background-color);
}
.store-logo {
	max-height: 4rem;
}
Will result in:
The CSS above is valid for the Light Mode Modern Theme!
| Search order | Tracking view |
 |
 |
Change logo size
To change the logo size, add the following code snippet in the custom CSS box:
.store-logo {
   max-height: 4rem;
}
Tip
Depending on how big a logo is required, keep increasing the value from for example, 4 to 4.5 and so on, with the increments of 0.5 until it meets your needs.
Change the header background on the page
To change the header background on the page, add the following code snippet in the custom CSS box and replace the hex code #565874 with the background color of your choice.
.navbar {
   background: #565874 !important;
}
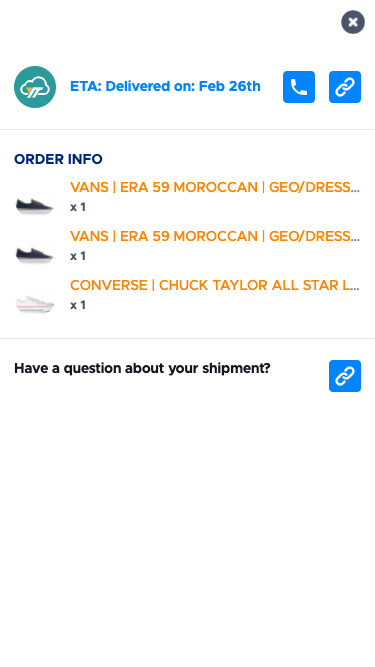
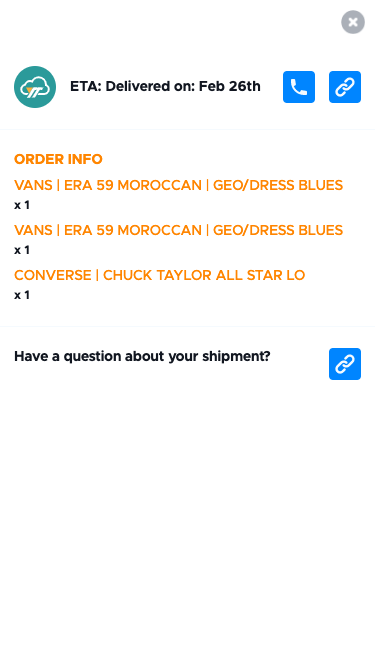
Hide product image thumbnails
You can hide images thumbnails in following areas:
- Order summary popup
- Left sidebar search
- Left sidebar shipment
Hide all
If you want to hide them altogether, add the following code snippet in the custom CSS box:
.product-image {
   display:none !important;
}
Hide from order summary popup
To hide only the order summary popup images, add the following code snippet in the custom CSS box:
.order-product-image {
   display:none !important;
}
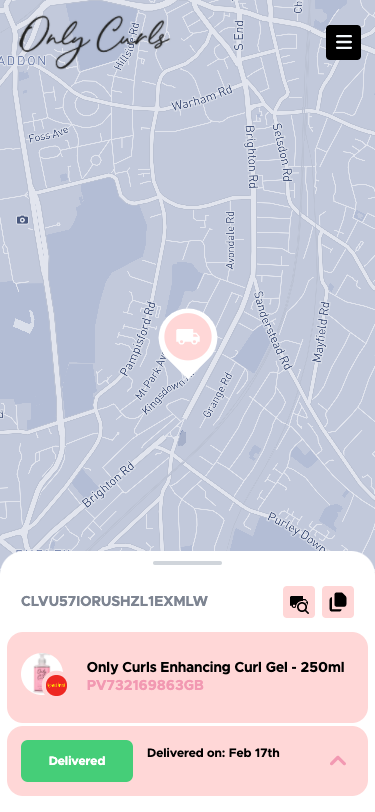
| Before | After |
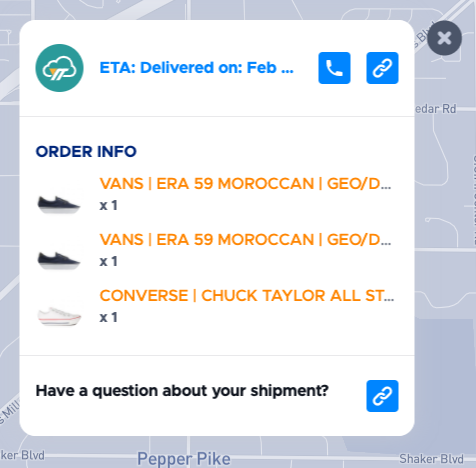 |
 |
 |
 |
Hide only left-side search images
To hide only the left-side search images, add the following code snippet in the custom CSS box:
.left-side-product-image {
   display:none !important;
}
| Before | After |
 |
 |
 |
 |
Hide only shipment details image
To hide only the shipment details image, add the following code snippet in the custom CSS box:
.product-detail-image {
   display:none !important;
}
| Before | After |
 |
 |
 |
 |
To hide the tracking permalink
To hide the tracking permalink image, add the following code snippet in the custom CSS box:
.rush-track-number {
   display:none !important;
}
| Before | After |
.png) |
.png) |
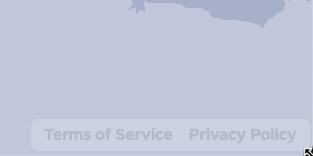
To hide Terms of Service and Privacy Policy links
To hide the Terms of Service and Privacy Policy, add the following code snippet in the custom CSS box:
.footer-links {
   display:none !important;
}
.header-bottom-links {
   display:none !important;
}
| Before | After |
 |
 |
 |
 |
Confirmation
That’s it!
Contact us
For further support and queries, feel free to reach out and let us assist you.